Digital drawing offers nearly unlimited creative possibilities once you move beyond the basics. By mastering advanced techniques, you can create artwork with greater depth, texture, and visual impact. In this article, we'll explore five sophisticated digital drawing techniques that professional artists use to elevate their work.
These techniques can be applied across most digital drawing software, though the specific tools and commands may vary slightly between programs. We'll focus on the conceptual approach rather than software-specific instructions, allowing you to adapt these techniques to your preferred drawing environment.
1. Advanced Layering Strategies
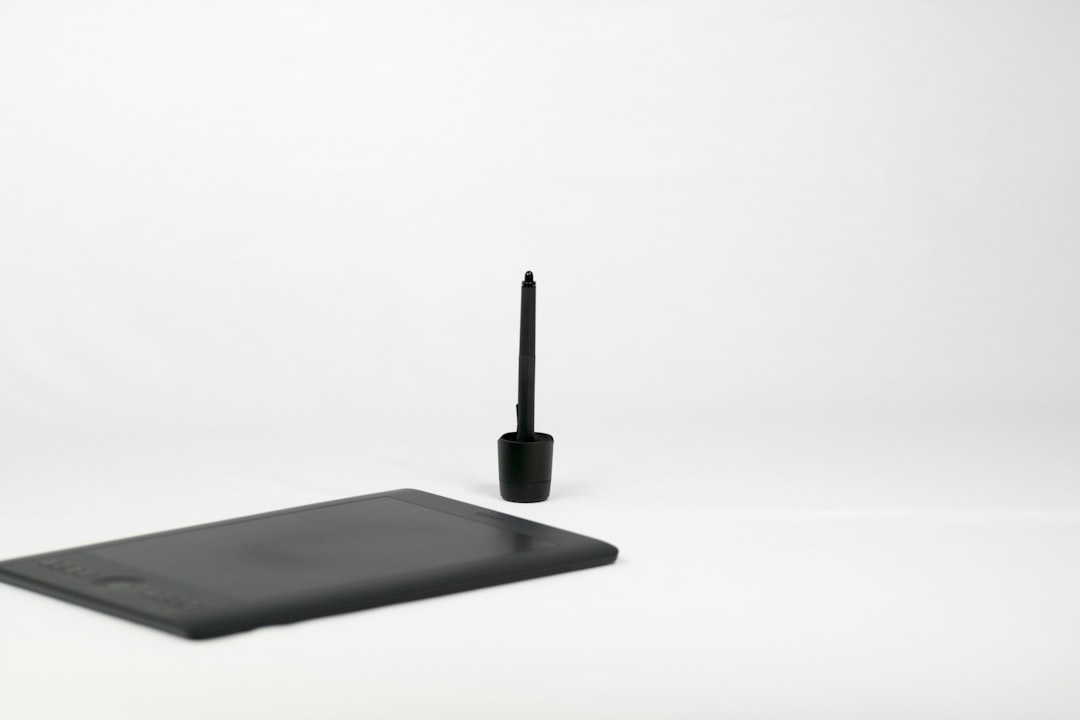
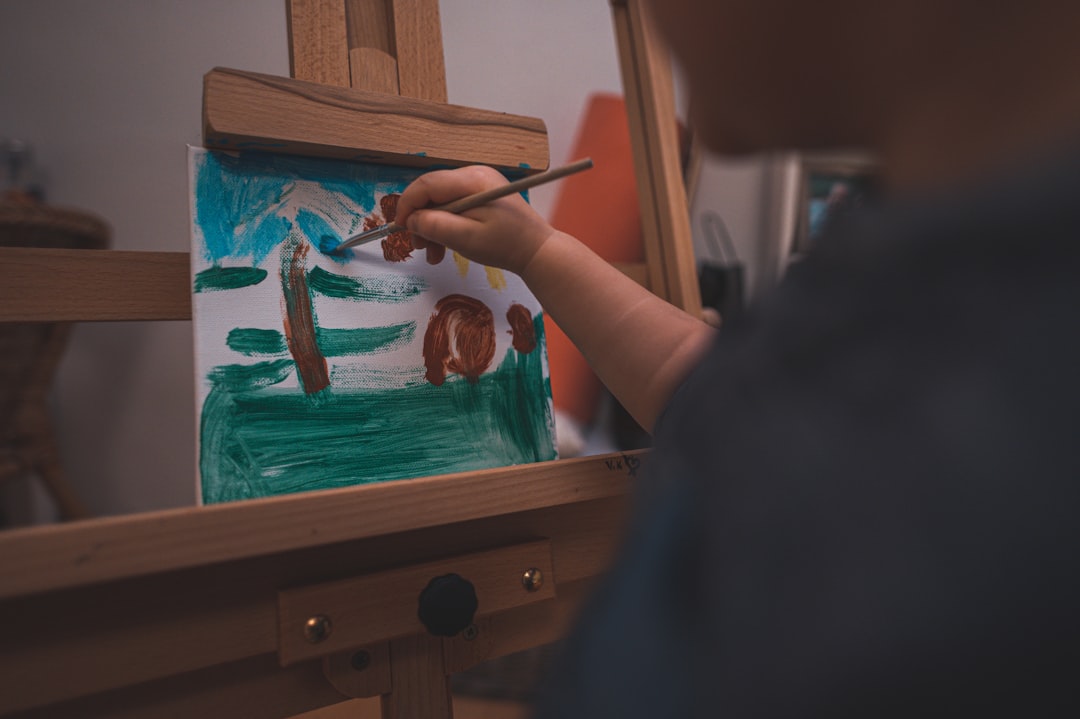 Complex layer structure in a professional illustration
While basic layering is familiar to most digital artists, advanced layering involves creating sophisticated hierarchies and groups that allow for complex editing while maintaining organization.
The Non-Destructive Workflow
Professional digital artists rarely work directly on their primary drawing layers. Instead, they create a system that preserves the original artwork while making changes through adjustment layers, clipping masks, and layer effects.
Key components of an advanced layering strategy include:
- Composite Layers - Creating merged copies of multiple layers while preserving the originals for future editing
- Adjustment Layers - Using dedicated layers for color correction, contrast, and other adjustments that affect multiple layers below
- Smart Objects - Encapsulating complex elements to preserve their editability while treating them as a single unit
- Layer Groups - Organizing related layers into collapsible folders for better workspace management
By implementing these layering techniques, you can maintain flexibility throughout your drawing process, allowing for major revisions even in late stages of development.
2. Masking Techniques for Complex Selections
Masking goes far beyond the simple "hide and reveal" functionality that beginners often use. Advanced masking techniques allow for sophisticated control over how elements interact and blend.
Types of Advanced Masks
- Luminance Masks - Selections based on the brightness values in your image, allowing for precise targeting of highlights, midtones, and shadows
- Gradient Masks - Creating smooth transitions between effects or elements using linear, radial, or custom gradient shapes
- Texture Masks - Using organic patterns to create complex edge treatments and textural variety
- Alpha Channels - Saving complex selections for reuse throughout your workflow
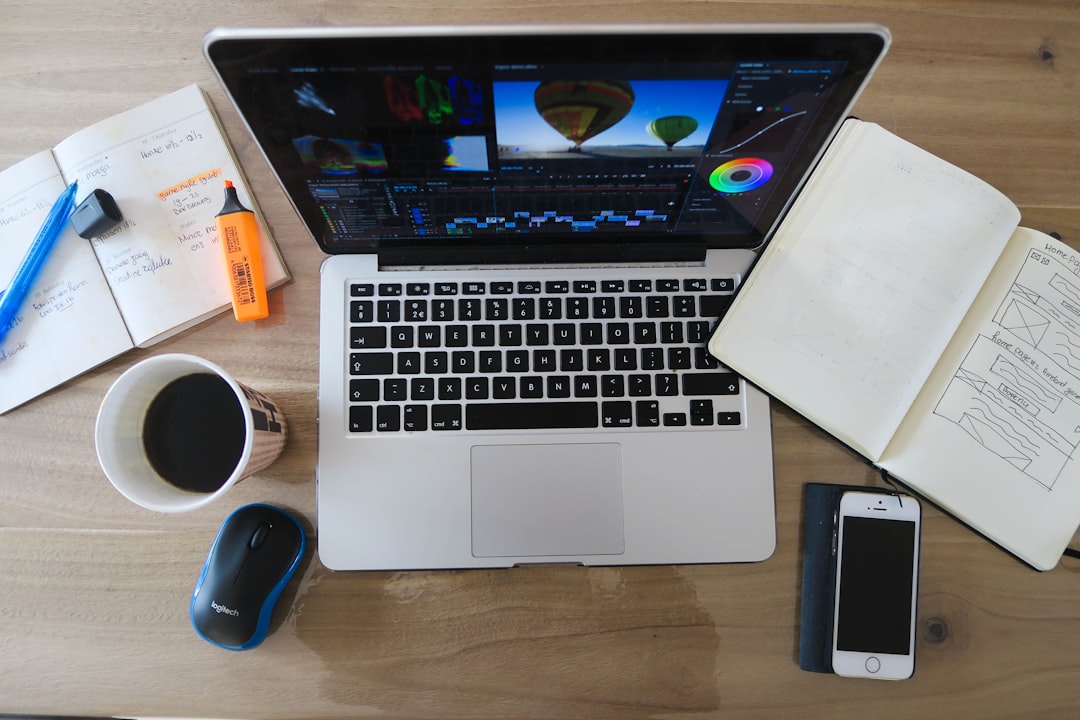
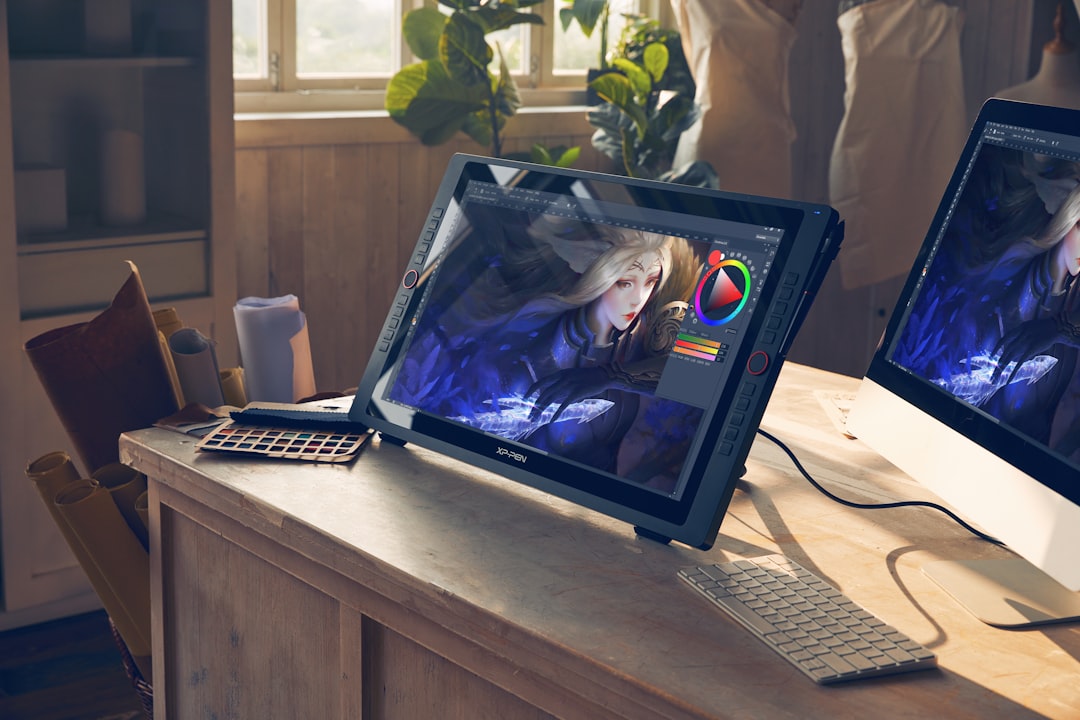 Luminance masking applied to create realistic lighting effects
One powerful application of advanced masking is creating atmospheric depth. By using gradient masks with adjustment layers, you can simulate atmospheric perspective, where objects in the distance appear lighter and less saturated than foreground elements.
Practical Application: Creating Realistic Light Falloff
To create realistic lighting in your digital drawings:
- Create a new layer above your artwork
- Fill this layer with a color that represents your light source
- Set the layer blend mode to "Soft Light" or "Overlay"
- Add a layer mask and apply a radial gradient from white to black, centered on your light source
- Adjust the opacity to fine-tune the effect
3. Custom Brush Creation and Manipulation
Pre-made brushes have their place, but creating custom brushes tailored to your specific needs can dramatically improve both your artwork quality and workflow efficiency.
Elements of an Advanced Custom Brush
- Dynamic Shape Properties - Creating brushes that respond to pressure, tilt, and rotation of your stylus
- Texture Integration - Combining multiple textures to create brushes with complex surface characteristics
- Scatter and Spacing Controls - Fine-tuning how brush marks distribute along your stroke path
- Color Dynamics - Programming brushes to vary color, saturation, and brightness as you draw
| Brush Property | Effect on Artwork | Common Applications |
|---|---|---|
| Texture | Adds surface detail and grain | Skin, fabric, natural surfaces |
| Scattering | Creates irregular distribution | Hair, foliage, particle effects |
| Rotation | Changes angle based on direction | Calligraphy, organic shapes |
| Transfer | Varies opacity with pressure | Subtle blending, atmosphere |
| Dual Brush | Combines two brush tips | Complex textures, special effects |
Creating a Signature Brush Set
Developing a personalized set of brushes that reflect your artistic style can become part of your signature as an artist. Consider creating brushes for:
- Different materials and textures you frequently draw
- Specific effects like smoke, fire, or water
- Background textures and patterns
- Specialized detailing for elements like hair, fabric, or foliage
4. Color Harmony and Advanced Blending
Moving beyond basic color selection to implement sophisticated color theory can dramatically improve the visual appeal of your digital artwork.
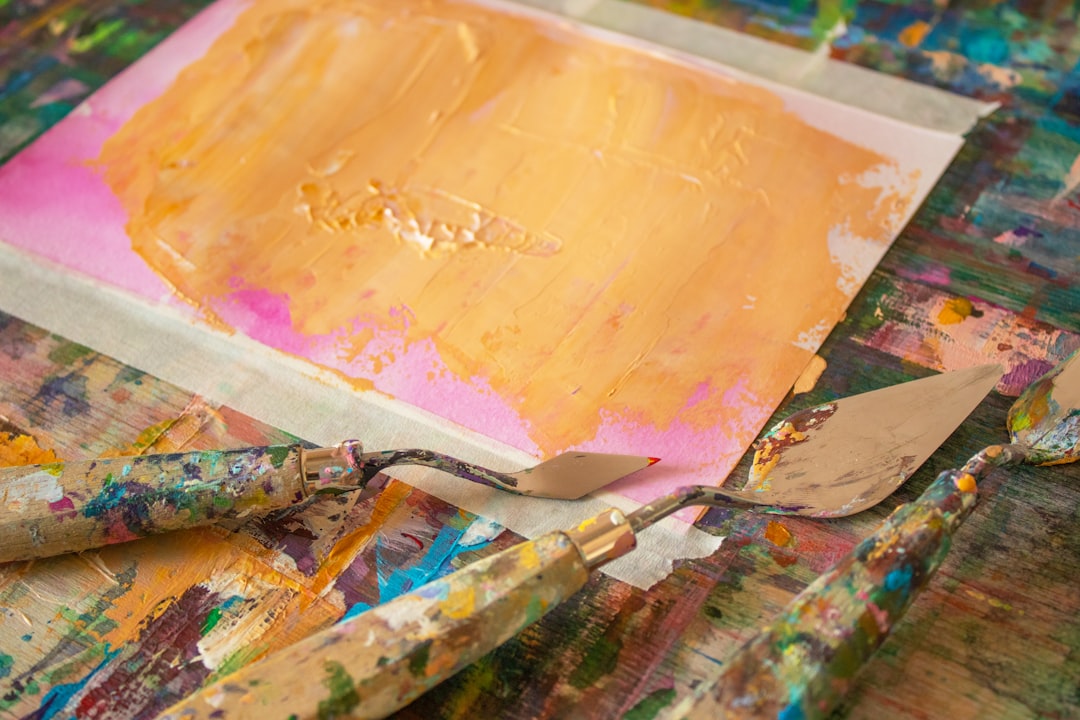
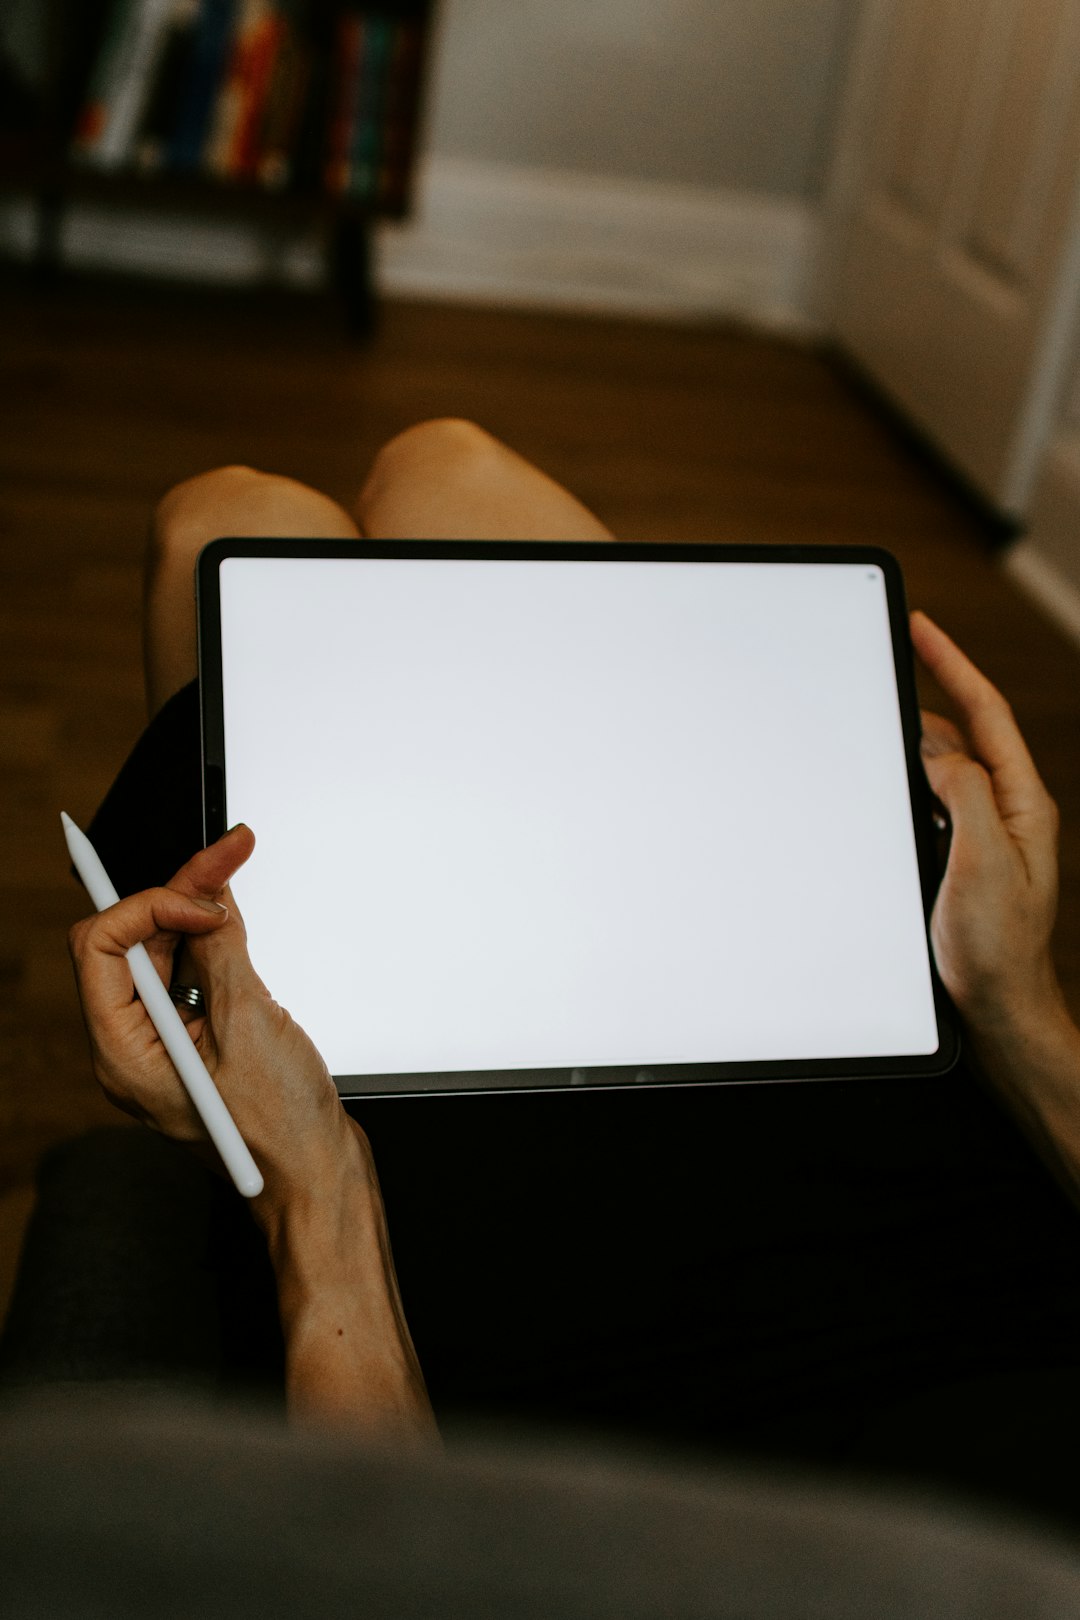 Advanced color blending creates atmospheric depth
Color Grading Techniques
Professional digital artists often approach color like cinematographers, using color grading techniques to create mood and visual coherence:
- Split Toning - Applying different colors to shadows and highlights to create depth and atmosphere
- Color Lookup Tables (LUTs) - Using preset color transformations to quickly achieve specific moods
- Selective Color Adjustment - Targeting specific color ranges for adjustment without affecting the entire image
Advanced Blending Methods
Moving beyond simple opacity blending, advanced techniques include:
- Blend Mode Stacking - Applying multiple blend modes in sequence for complex color interactions
- Texture Blending - Using textured brushes with varying opacity to create organic transitions
- Gradient Mapping - Remapping the tonal range of your artwork using custom gradients
Practical Application: Creating Mood with Color
To quickly establish atmosphere in your digital drawing:
- Create a new layer at the top of your layer stack
- Fill with a color that represents your desired mood (cool blue for calm/sad, warm orange for energetic/happy)
- Set the blend mode to "Color" or "Soft Light"
- Reduce opacity to around 15-30%
- Use a large soft brush at low opacity to selectively remove the color from areas you want to emphasize
5. Integrating Photographic Textures
Incorporating photographic elements can add a level of detail and realism that's difficult to achieve through drawing alone. The key is integrating these elements seamlessly with your drawn artwork.
Texture Integration Workflow
- Selection and Preparation - Choose appropriate textures and prepare them by adjusting contrast, removing unwanted elements, and making them tileable if necessary
- Placement and Transformation - Position the texture on its own layer and transform it to match your artwork's perspective
- Blending - Use blend modes like Overlay, Soft Light, or Multiply to integrate the texture with your drawing
- Masking - Apply masks to control where and how strongly the texture appears
- Color Matching - Adjust the texture's color to match your artwork's palette using adjustment layers
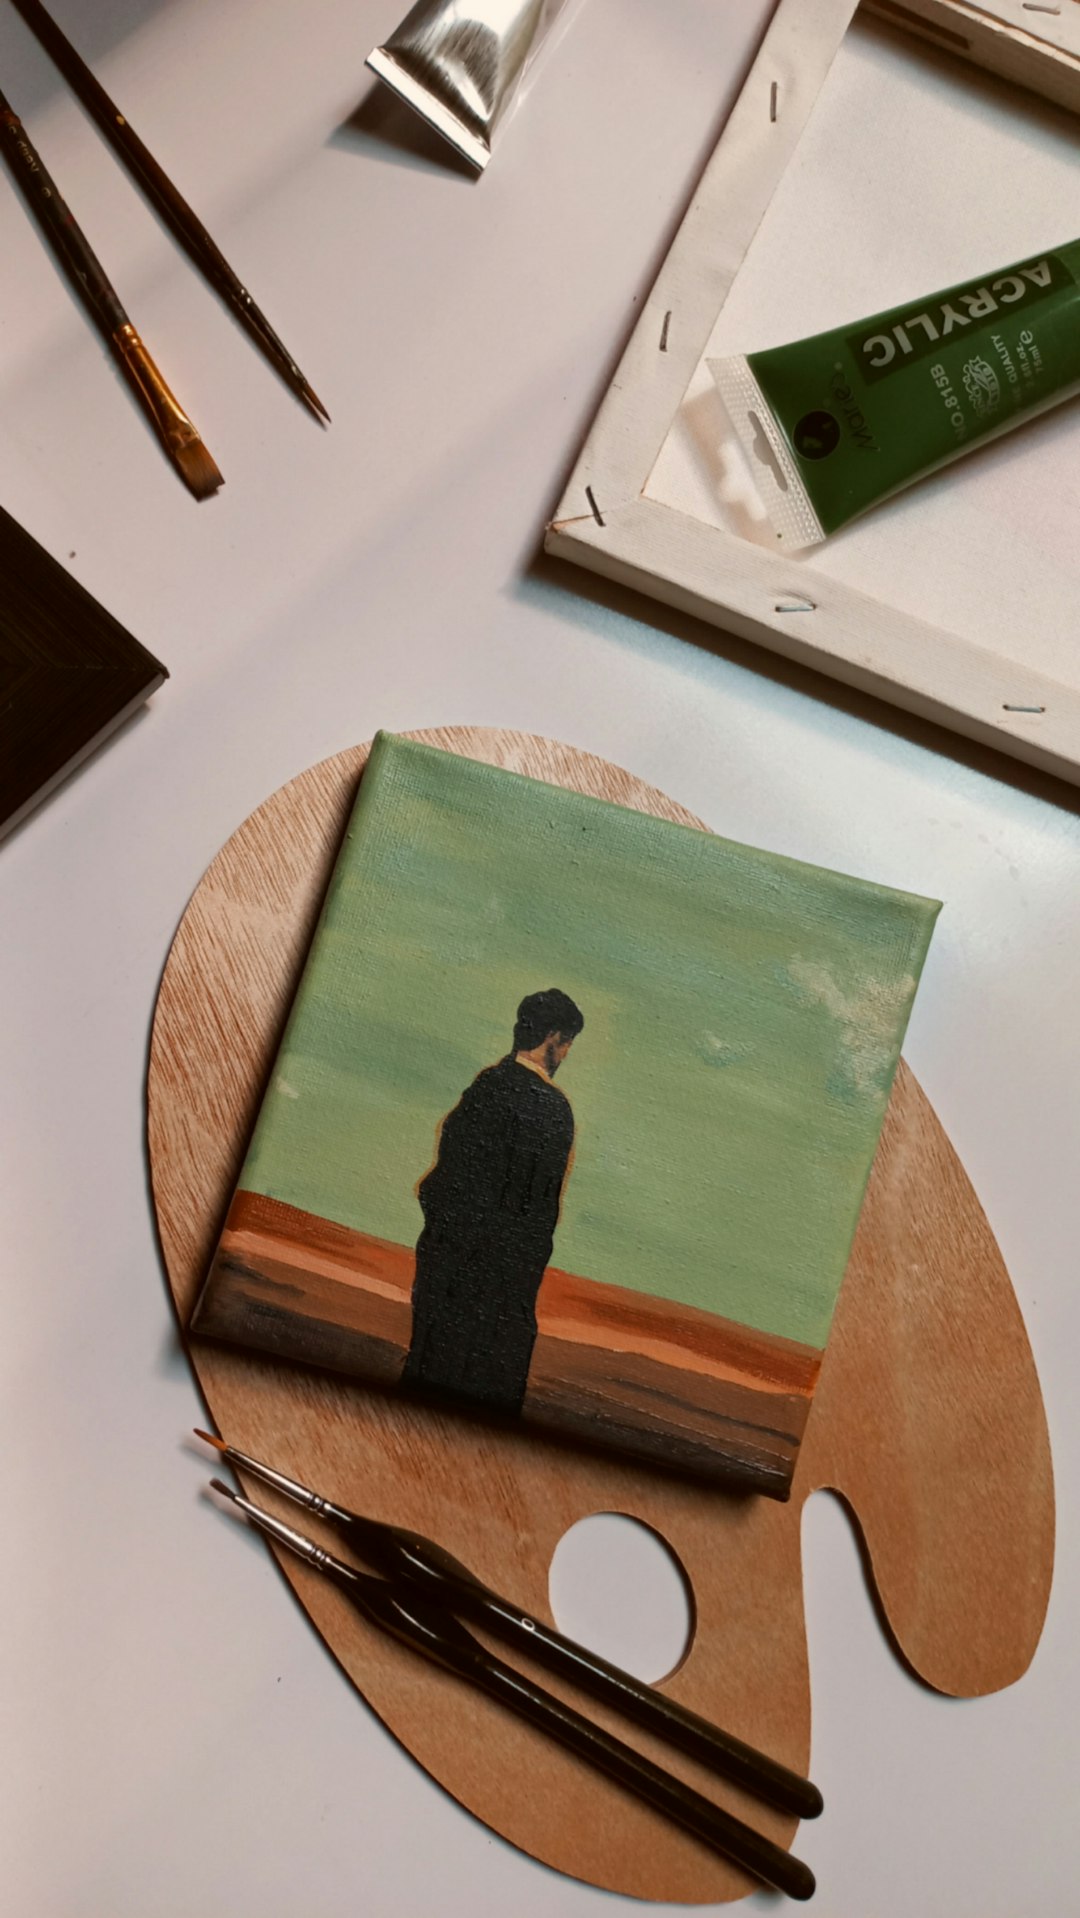
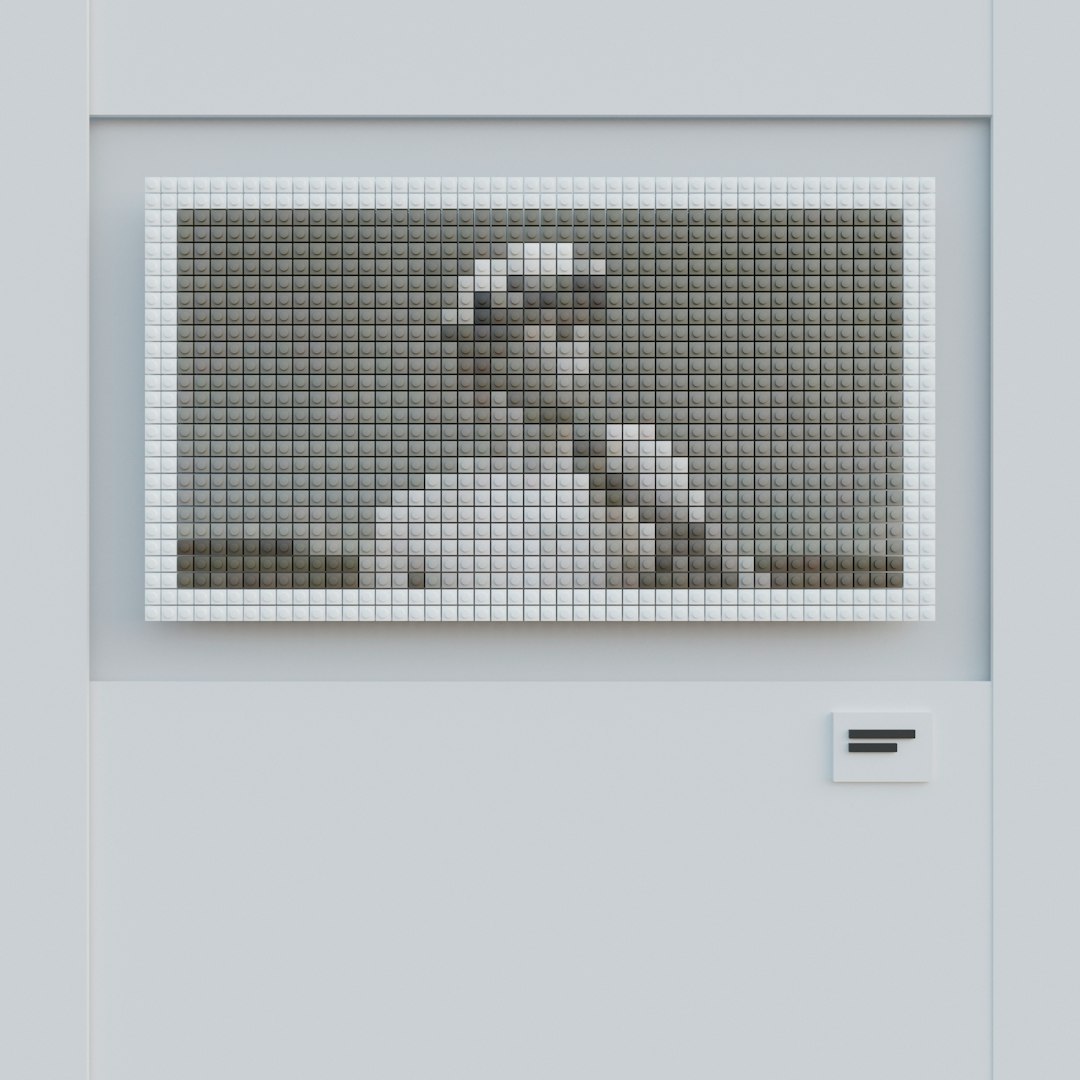 Photographic textures integrated with digital painting
Ethical Considerations
When using photographic textures, be mindful of copyright and licensing issues:
- Use public domain textures or those with appropriate licenses
- Create your own texture library by photographing surfaces and materials
- Substantially transform textures to create derivative works
- Credit sources when required by the license terms
Putting It All Together: The Integrated Workflow
The real power of these techniques emerges when you combine them into a cohesive workflow. Here's how professional digital artists might integrate these approaches:
- Begin with a strong composition and line work on a separate layer
- Establish a strategic layer structure that separates key elements
- Apply base colors using custom brushes that add subtle texture
- Use masking techniques to create depth and atmospheric effects
- Integrate photographic textures to enhance realism in specific areas
- Apply color grading and adjustment layers to unify the piece and establish mood
- Add final details and highlights using specialized custom brushes
Conclusion: Practice and Experimentation
Mastering these advanced digital drawing techniques requires practice and experimentation. Don't be afraid to try new approaches and develop your own variations on these methods. As you become more comfortable with these techniques, you'll find they become second nature, allowing you to focus more on your creative vision and less on the technical aspects of execution.
Remember that even the most sophisticated techniques are simply tools to express your artistic ideas. The goal is not to use every technique in every piece, but to have a diverse toolkit that allows you to realize your creative vision with precision and efficiency.