Digital artists often find themselves spending more time managing their workflow than actually creating art. From setting up files to navigating complex software, the technical aspects of digital creation can significantly slow down the artistic process. This guide focuses on professional strategies to streamline your digital art workflow, allowing you to work more efficiently without sacrificing quality.
Why Workflow Optimization Matters
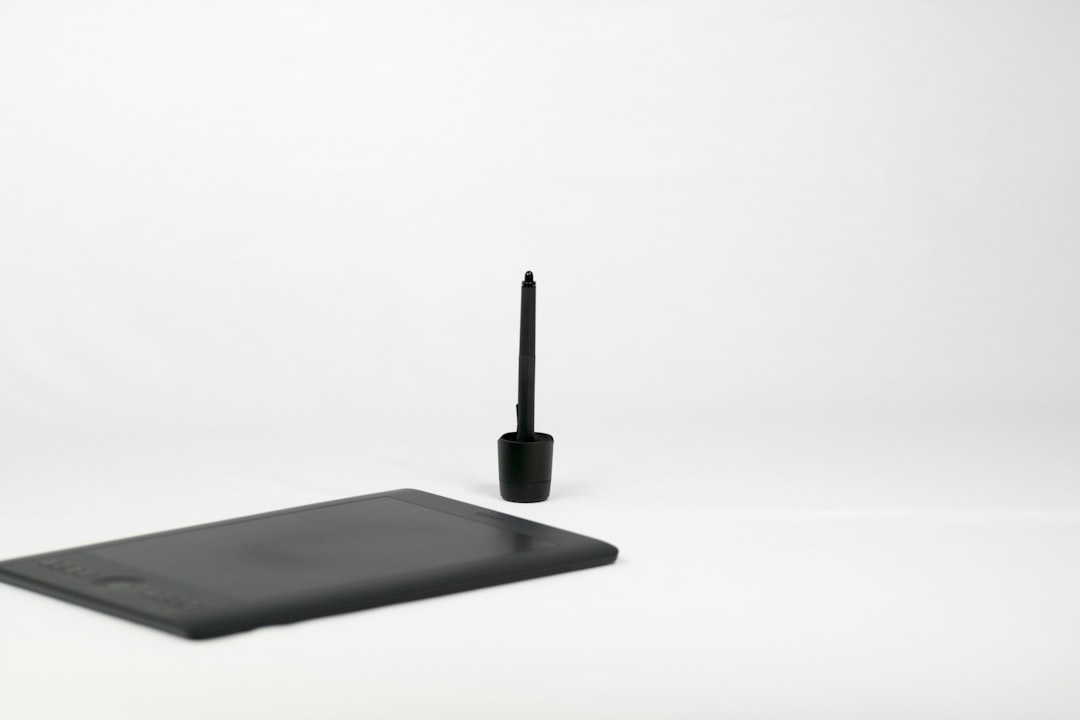
 A well-organized digital workspace improves efficiency
Before diving into specific techniques, it's important to understand why workflow optimization is worth your time:
- Increased Production Speed - Complete more work in less time without sacrificing quality
- Reduced Mental Fatigue - Streamlined processes require less decision-making and context switching
- Consistent Quality - Standardized workflows help maintain consistent results across projects
- More Creative Time - Less time spent on technical tasks means more time for creative exploration
- Professional Growth - Efficient workflows are essential for meeting deadlines in professional environments
With these benefits in mind, let's explore practical strategies to transform your digital art process.
Workspace Setup and Organization
An optimized workflow begins with a well-organized digital and physical workspace:
Physical Environment
- Ergonomic Setup - Position your monitor, tablet, and chair to reduce strain during long drawing sessions
- Shortcut Access - Use a programmable keyboard, tablet remote, or stream deck for frequently used commands
- Distraction Management - Create a dedicated workspace that minimizes interruptions
File Organization
Develop a consistent file management system:
- Project Folders - Create a standardized folder structure for all projects (e.g., References, Sketches, Finals, Client Communication)
- Naming Conventions - Use descriptive, searchable file names with version numbers (ProjectName_Description_v01)
- Archive System - Regularly archive completed projects to external drives or cloud storage
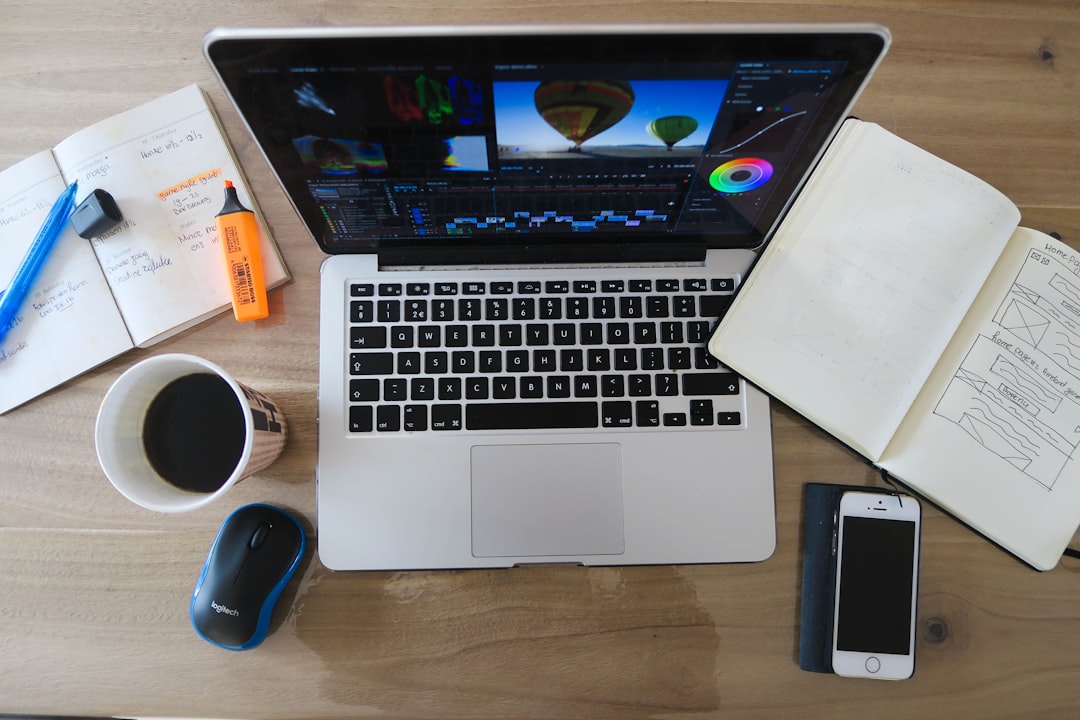
 Systematic file organization saves time and prevents lost work
Resource Libraries
Create organized libraries of frequently used resources:
- Brush Collections - Organize brushes by function (texturing, sketching, detailing)
- Color Palettes - Save frequently used color schemes for quick access
- Texture Libraries - Categorize textures by type for easy reference
- Reference Collections - Maintain a searchable database of reference images
Software Configuration
Configure your drawing software to support an efficient workflow:
Keyboard Shortcuts
Learn and customize keyboard shortcuts for actions you perform frequently:
- Brush size adjustment
- Layer navigation and management
- Canvas rotation and zoom
- Tool switching
- Brush opacity and flow adjustments
| Common Action | Photoshop | Clip Studio Paint | Procreate |
|---|---|---|---|
| Increase Brush Size | [ (square bracket) | [ (square bracket) | Pinch outward |
| Decrease Brush Size | ] (square bracket) | ] (square bracket) | Pinch inward |
| Undo | Ctrl+Z | Ctrl+Z | Two-finger tap |
| Quick Selection | W | W | Selection tool + drag |
| Transform | Ctrl+T | Ctrl+T | Arrow icon + selection |
Workspace Presets
Create customized workspace layouts for different types of projects:
- Sketching - Minimal interface with focus on brush presets
- Painting - Color and layer panels prominently displayed
- Compositing - Transform tools and adjustment panels readily accessible
Canvas Templates
Create template files with pre-configured settings for common project types:
- Appropriate dimensions and resolution
- Basic layer structure
- Color profiles and document settings
- Guidelines or grids for specific formats
Process Optimization
Refine your creative process to eliminate unnecessary steps:
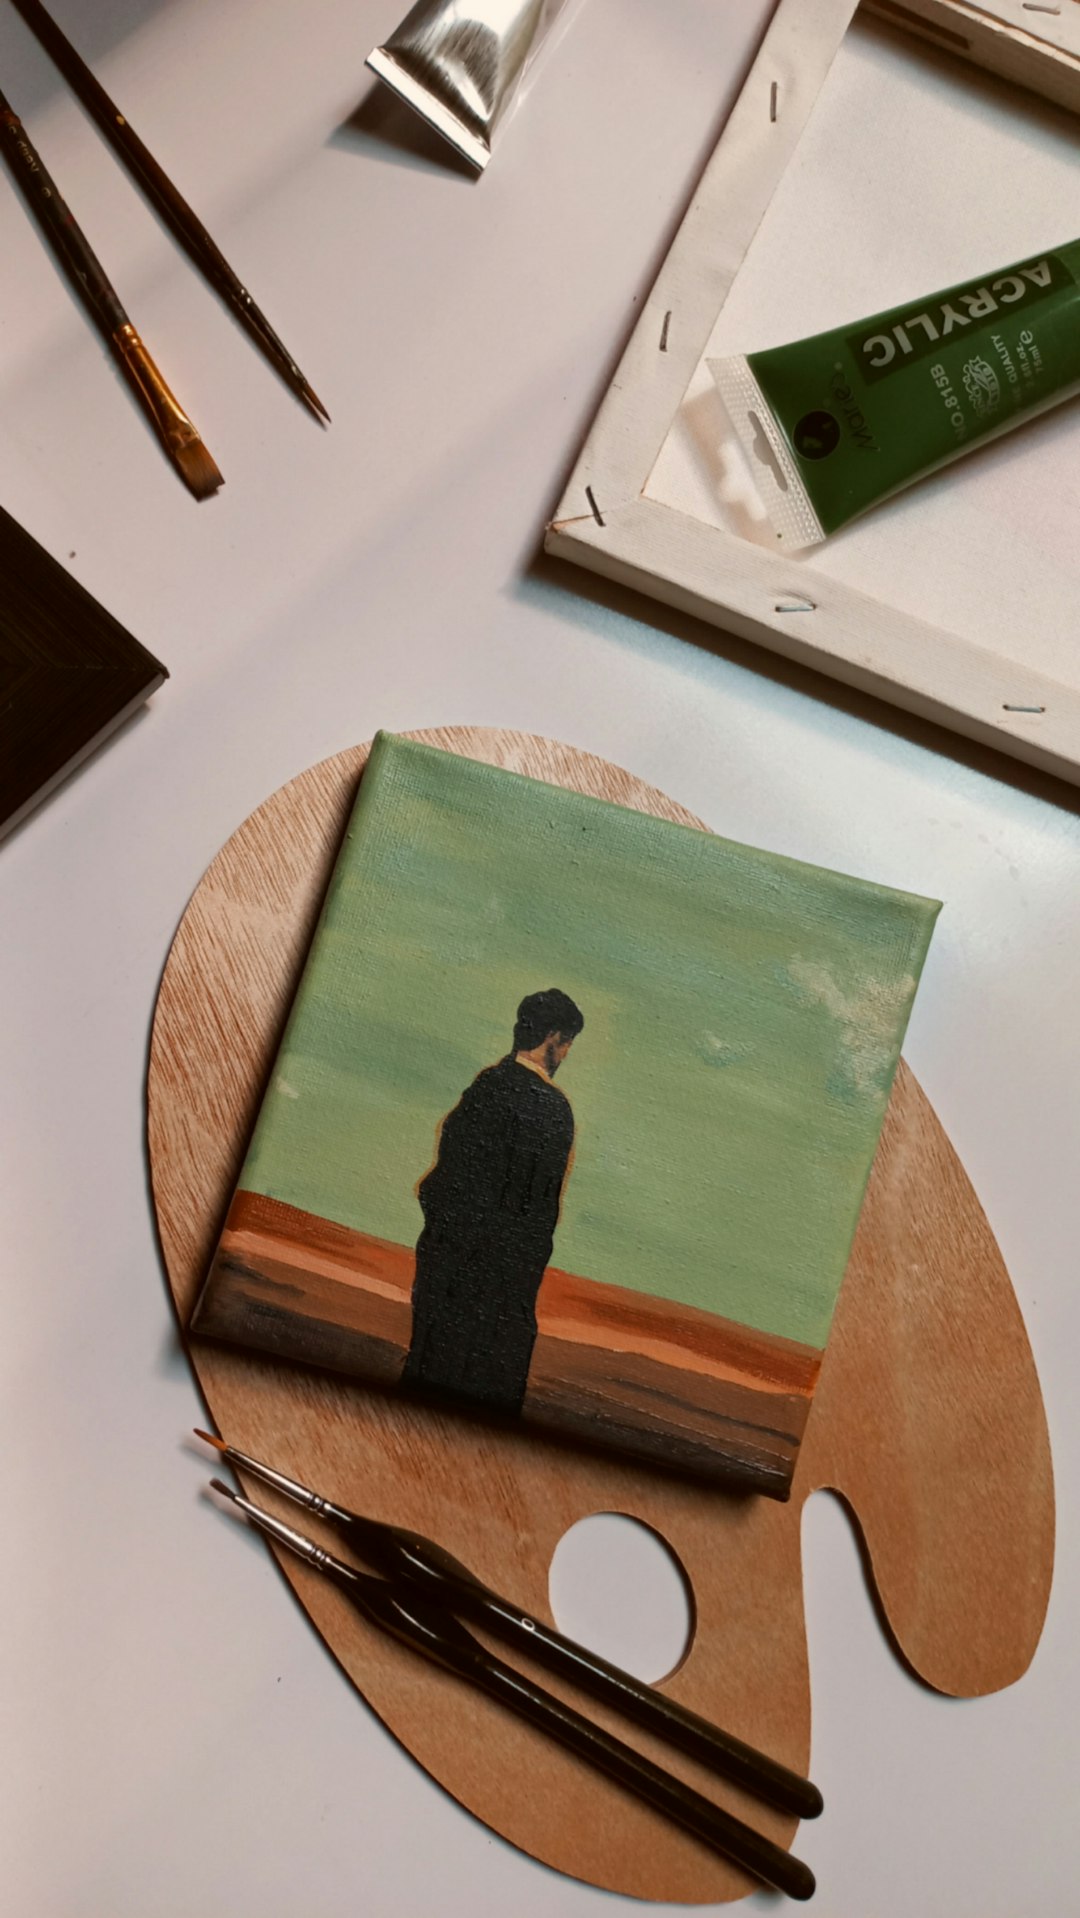
 A structured approach to digital art creation
Standardized Workflow
Develop a consistent process for all projects:
- Planning - Define project goals and gather references before opening your software
- Thumbnailing - Create multiple small compositional studies quickly
- Rough Sketch - Develop the selected thumbnail at low detail
- Refined Drawing - Create clean linework or structural drawing
- Base Colors/Values - Establish foundational color or value relationships
- Rendering - Add detail and refine forms
- Finalization - Make final adjustments and prepare deliverable files
Batching Similar Tasks
Group similar activities to reduce context switching:
- Create multiple sketches in one session
- Establish base colors for all elements before detailed rendering
- Handle all background elements before foreground details
Non-Linear Approach
For complex projects, work globally rather than completing one section at a time:
- Develop the entire image at a low level of detail
- Gradually increase detail across the entire piece
- This ensures consistent quality and helps identify compositional issues early
Technical Efficiency Techniques
Implement these technical approaches to work smarter, not harder:
Layer Management
- Group Related Layers - Organize layers into logical folders
- Use Layer Comps - Save different layer states for comparison
- Color-Code Layers - Apply colors to layers by function or content
- Smart Objects - Use smart objects for elements that require frequent transformation
Automation Tools
Use software automation features to handle repetitive tasks:
- Actions and Macros - Record sequences of commands for one-click execution
- Batch Processing - Apply the same adjustments to multiple files
- Scripts - Use or create scripts for complex operations
 Automation features can handle repetitive tasks
Non-Destructive Editing
Maintain flexibility throughout your process:
- Adjustment Layers - Use adjustment layers instead of direct image modifications
- Layer Masks - Use masks rather than erasing to hide content
- Smart Filters - Apply filters as smart filters when possible
Time and Project Management
Apply professional project management techniques to your creative work:
Time Blocking
Structure your work time for maximum efficiency:
- Dedicate specific time blocks to different project phases
- Use the Pomodoro Technique (25 minutes of focus followed by 5-minute breaks)
- Schedule creative work during your peak energy hours
Project Tracking
Maintain visibility of your projects and progress:
- Use project management tools like Trello or Notion
- Break large projects into smaller, manageable tasks
- Set realistic deadlines for each phase of work
| Project Management Tool | Best For | Key Features |
|---|---|---|
| Trello | Visual project tracking | Kanban boards, checklists, deadlines |
| Notion | Comprehensive project documentation | Databases, notes, customizable views |
| Toggl | Time tracking | Project timers, reporting, client tracking |
| Google Calendar | Scheduling and deadlines | Visual calendar, reminders, sharing |
Progress Documentation
Document your work process for learning and marketing:
- Save work-in-progress stages to analyze your process
- Record time-lapses of your drawing sessions
- Take notes on techniques and decisions for future reference
Hardware Considerations
Your physical tools significantly impact your workflow efficiency:
Performance Optimization
- RAM Upgrade - Increase RAM for smoother handling of large files
- SSD Storage - Use SSDs for faster file access and program loading
- Graphics Processing - Ensure your GPU is compatible with your software's acceleration features
Input Devices
Choose input devices that match your working style:
- Pen Display vs. Pen Tablet - Consider workflow impact when choosing between direct or indirect drawing
- Express Keys - Use programmable buttons for frequent commands
- Secondary Input - Consider adding a Stream Deck, MIDI controller, or other programmable device for shortcuts
Continuous Improvement
Workflow optimization is an ongoing process:
Regular Workflow Audit
- Periodically review your process to identify bottlenecks
- Time different phases of your work to find inefficiencies
- Ask for workflow feedback from peers or mentors
Learning and Adaptation
- Stay updated on new software features and updates
- Study the workflows of professionals in your field
- Experiment with new techniques in non-critical projects
Conclusion: Balance Efficiency and Creativity
While optimizing your workflow is important, remember that the ultimate goal is to support your creativity, not constrain it. The most efficient workflow is one that becomes second nature, allowing you to focus on artistic expression rather than technical processes.
Start by implementing a few changes at a time, giving yourself time to adjust before adding more optimizations. Over time, you'll develop a personalized workflow that maximizes both your productivity and creative potential.
The professional digital artists who seem to produce work effortlessly aren't necessarily faster at drawing—they've simply eliminated the friction points in their process, allowing their creativity to flow more freely. With the strategies outlined in this guide, you can achieve the same level of workflow efficiency in your own digital art practice.